
By default, software updates to Dentrix are checked for automatically. When a check is complete, a message appears to notify you of any available updates. You can control when these updates are downloaded and installed.
To set automatic update preferences
1. In the Office Manager, click Maintenance, point to Practice Setup, and then click Preferences.
The Preferences dialog box appears.
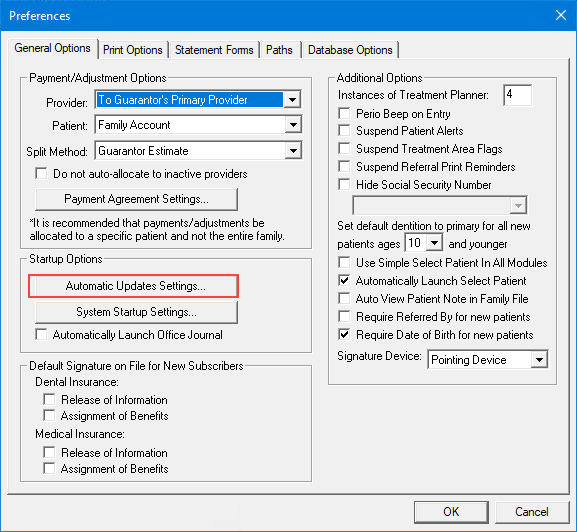
2. Click Automatic Updates Settings.
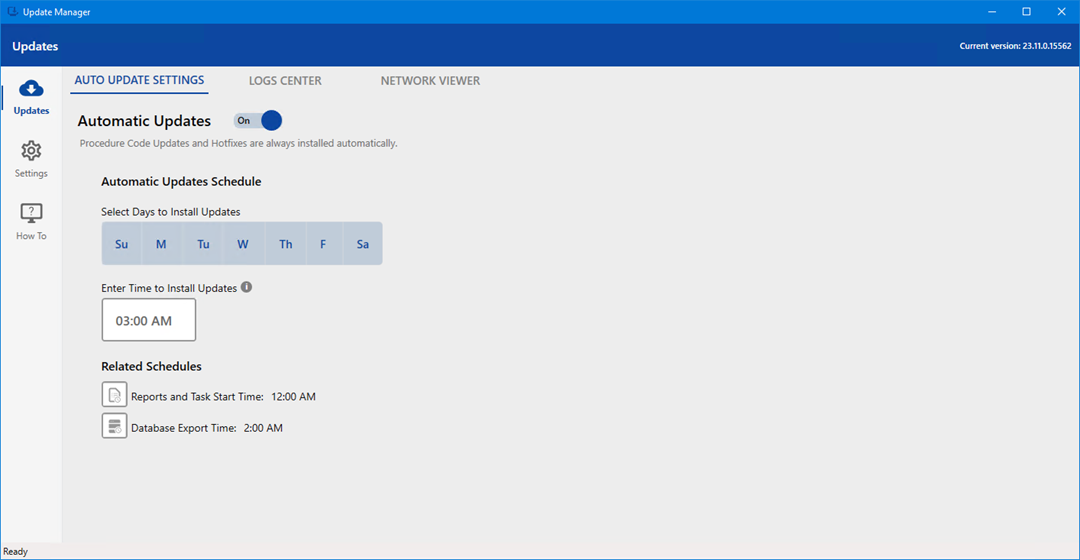
The Update Manager checks for updates and the Auto Update Settings tab appears.
3. To review how to edit the auto update settings, click the How To icon.
The How To view appears.
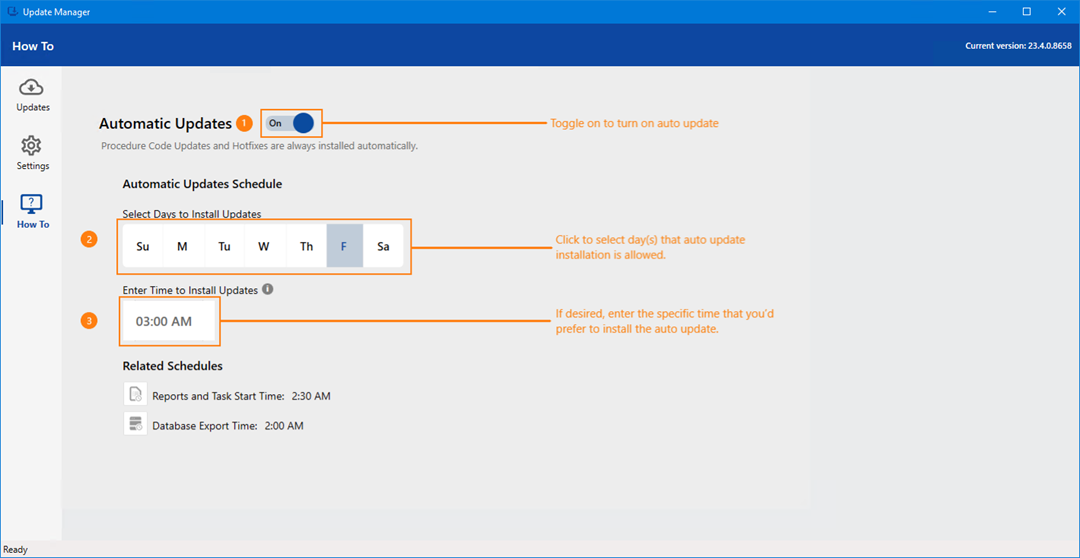
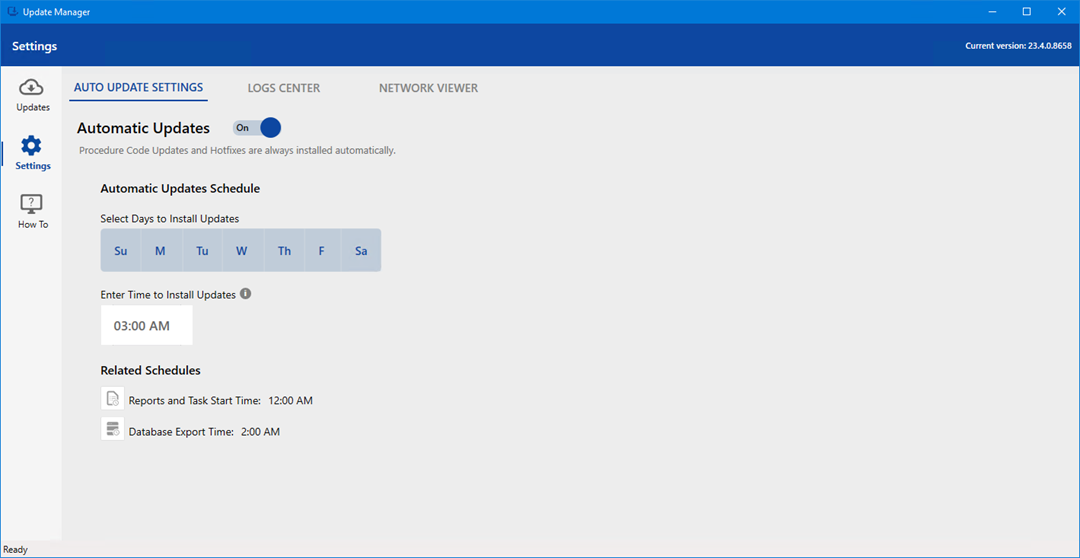
4. Click the Settings icon, and then click Edit Auto Update Settings.
The Auto Update Settings become active.
5. As necessary for your practice, modify any of the default update settings:
· Automatic Updates – Click the slider to turn automatic updates off.
Note: Procedure code updates and hotfixes are always installed automatically.
· Automatic Updates Schedule – Click the days that you want to install updates.
· Enter Time to Install Updates – To change the default from 3:00 AM, type the desired time.
Important: This time must be a minimum of 30 minutes from the Reports and Tasks Start or the Database Export Time so that it does not interfere with these processes.
· Related Schedules – On (Default). If desired, reset to Off.
· Reports and Tasks Start Time – Default is 12:00 AM. Click the icon to open the Reports and Tasks Scheduler.
· Database Export Time – Default is 2:00 AM. Click the icon to open the Database Export utility.